Prerequisites
Before you can configure and use GitHub Copilot with Connect AI, you must do the following:- Connect a data source to your Connect AI account. See Sources for more information.
- Install and enable GitHub Copilot in Visual Studio Code (or any IDE supporting GitHub Copilot).
- (Basic authentication only) Generate a Personal Access Token (PAT) on the Settings page. Copy this down, as it acts as your password during authentication.
-
(Basic authentication only) Base64-encode your Connect AI credentials in the following format:
Base64("email:PAT").
Connect to Connect AI
OAuth Authentication
1
Create a folder named
.vscode in your project repository. Within this folder, create a file named mcp.json and add the following configuration.2
Click Start within your IDE to start the MCP server. Visual Studio Code opens your browser to the Connect AI sign-in page. Complete the sign-in to authorize the connection.
3
After authorization, the MCP server displays Running.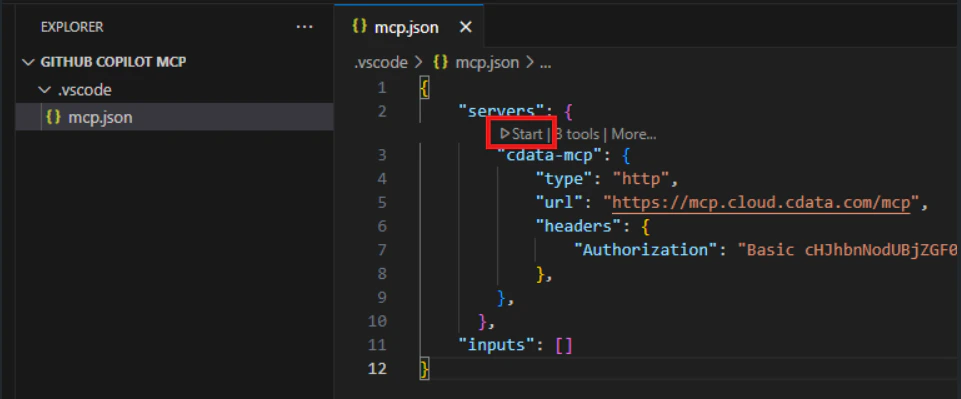
Basic Authentication
1
Create a folder named
.vscode in your project repository. Within this folder, create a file named mcp.json and add the following configuration. Replace YOUR_BASE64_ENCODED_EMAIL:PAT with the Base64-encoded value of email:PAT that you created in the prerequisites.2
Click Start within your IDE to start the MCP server. If the MCP server starts without error, it displays Running.
Add the Connect AI Tools
1
Toggle Chat in the title bar to display the Chat pane on the right.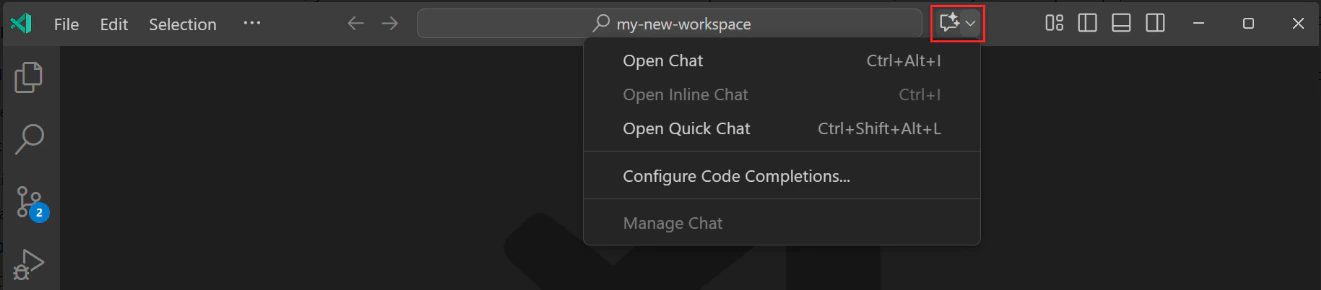
2
Click Add Context in the bottom of the Chat pane. In the search bar, select Tools. Then search for CData. Add cdata-mcp All Tools.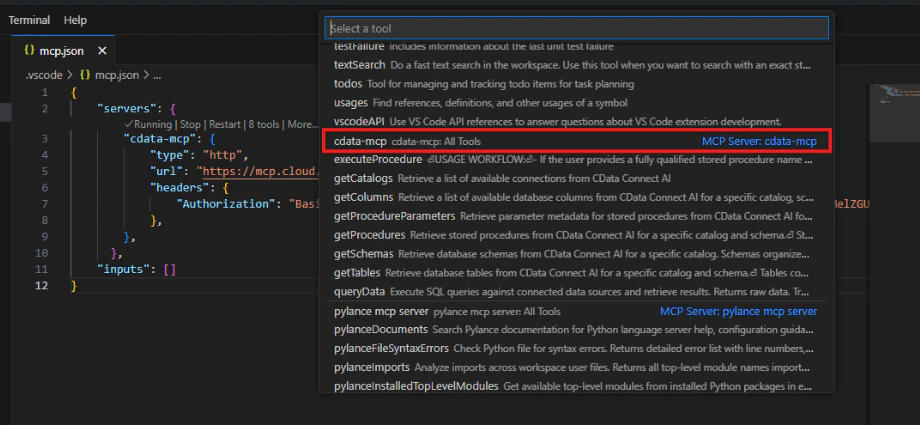
Chat with GitHub Copilot
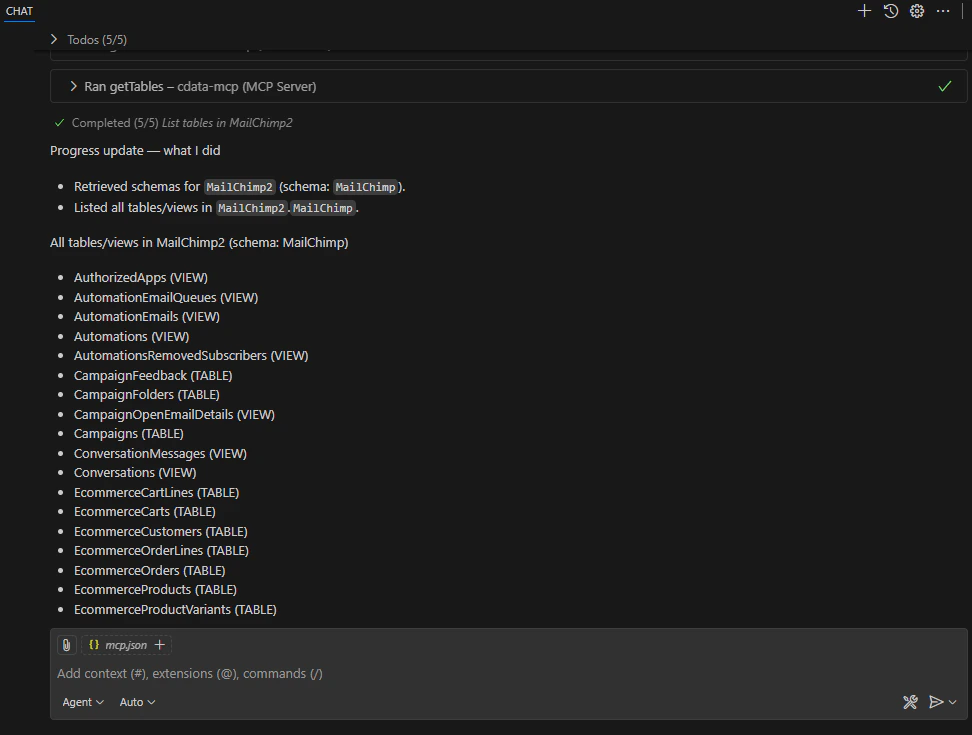
You can now chat with GitHub Copilot and issue contextual prompts. As a test, you can provide the MCP server with a prompt, such as a list of tables for a particular connection. GitHub Copilot uses the Connect AI tools such asgetCatalogs, getSchemas, and getTables to retrieve data from the connected data source.