> ## Documentation Index
> Fetch the complete documentation index at: https://docs.cloud.cdata.com/llms.txt
> Use this file to discover all available pages before exploring further.
# Salesforce Lightning Connect
> This page outlines the steps to connect Salesforce Lightning Connect to Connect AI using the [OData](/en/API/OData-Dashboard) protocol. This requires the use of workspaces. See the [Workspaces](/en/Workspaces) documentation for more information.
## Prerequisites
Before you connect, you must first do the following:
* Connect a data source to your Connect AI account. See [Sources](/en/Sources) for more information.
* Create a [Workspace](/en/Workspaces). Later, you will use the **OData Service URL** on that page (*[https://cloud.cdata.com/api/odata/\{workspace\\\_name}](https://cloud.cdata.com/api/odata/\{workspace\\_name})*) with the relevant workspace name to establish the connection.
* Generate a Personal Access Token (PAT) on the [Settings](/en/Settings#personal-access-tokens) page. Copy this down, as it acts as your password during authentication.
## Connect to Connect AI
To establish a connection from Salesforce Lightning Connect to Connect AI using the OData protocol, follow these steps.
Open Salesforce Setup (lightning experience).
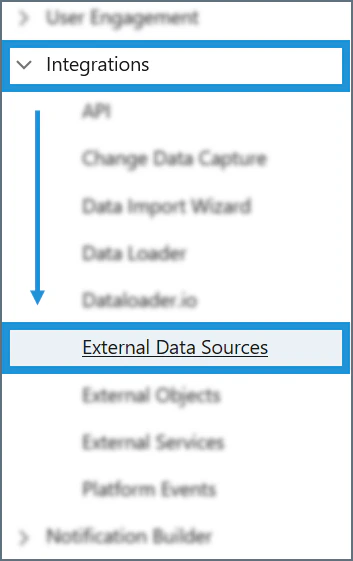
Navigate to **Integrations** > **External Data Sources** or type *external data sources* into the search bar.
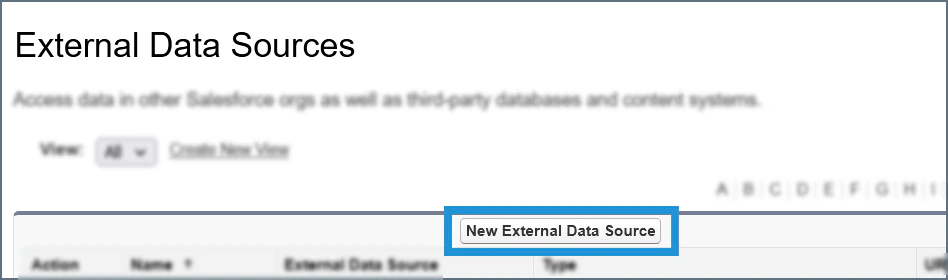
 Click **New External Data Source** at the top of the table.
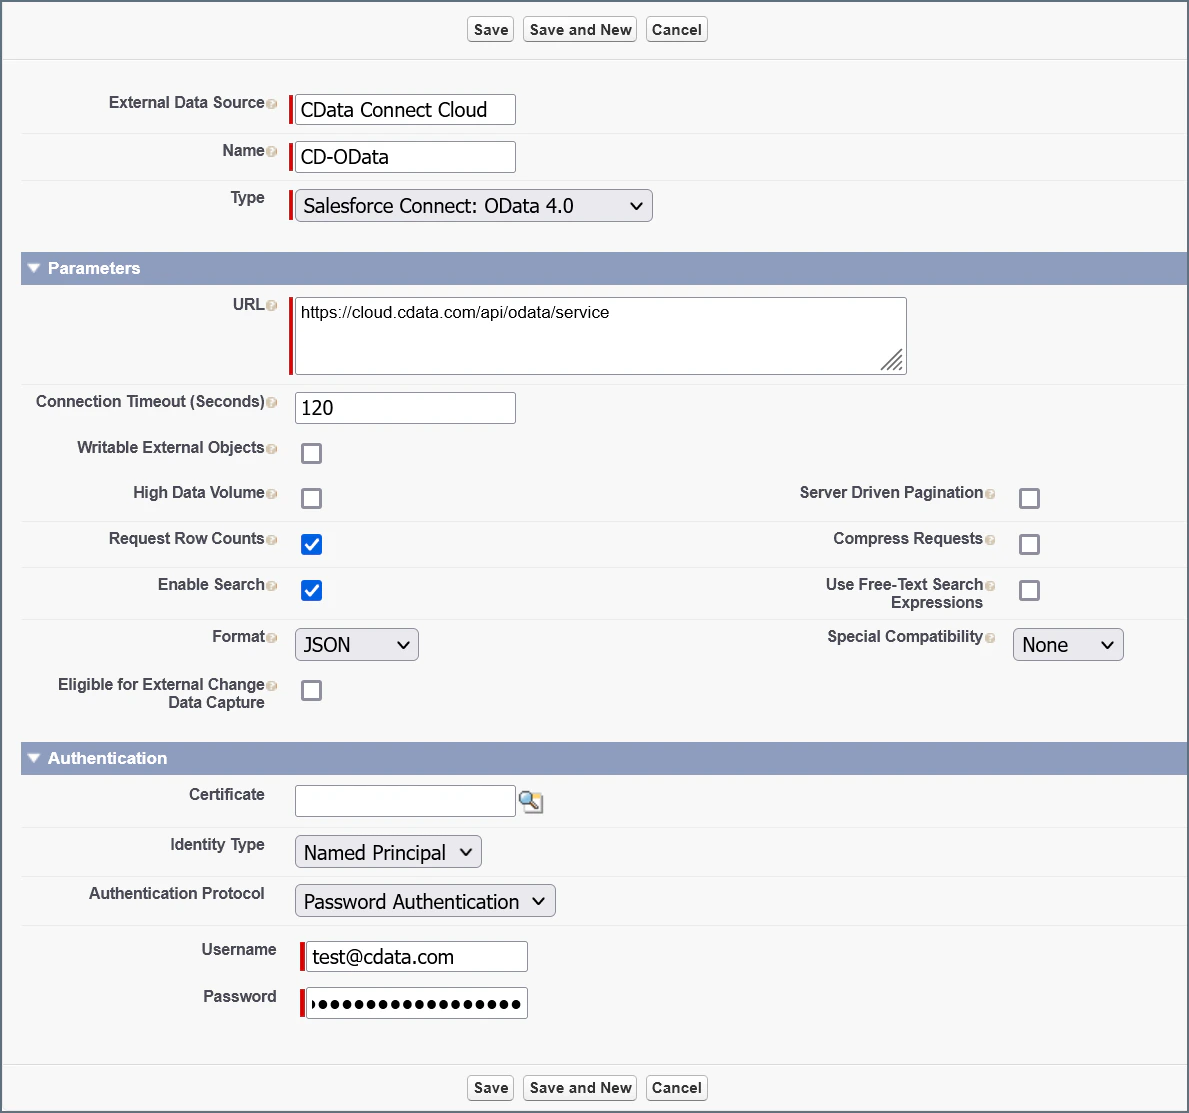
 Configure the data source fields:
* Enter labels for the **External Data Source** and **Name** fields. -**Type**—select **Salesforce Connect: OData 4.0**
* **URL**—enter *[https://cloud.cdata.com/api/odata/\{workspace\\\_name}](https://cloud.cdata.com/api/odata/\{workspace\\_name})*
* Under **Authentication**, for **Identity Type**, select **Named Principal**.
* **Authentication Protocol**—select **Password Authentication**.
* **Username**—enter your Connect AI username. This is displayed in the top-right corner of the Connect AI interface. For example, *[test@cdata.com](mailto:test@cdata.com)*.
* **Password**—enter the PAT you generated on the [Settings](/en/Settings#personal-access-tokens) page.
Configure the data source fields:
* Enter labels for the **External Data Source** and **Name** fields. -**Type**—select **Salesforce Connect: OData 4.0**
* **URL**—enter *[https://cloud.cdata.com/api/odata/\{workspace\\\_name}](https://cloud.cdata.com/api/odata/\{workspace\\_name})*
* Under **Authentication**, for **Identity Type**, select **Named Principal**.
* **Authentication Protocol**—select **Password Authentication**.
* **Username**—enter your Connect AI username. This is displayed in the top-right corner of the Connect AI interface. For example, *[test@cdata.com](mailto:test@cdata.com)*.
* **Password**—enter the PAT you generated on the [Settings](/en/Settings#personal-access-tokens) page.
 Click **Save** to save your external data source.
## Create External Objects from Data
After you create your external data source, you must create external objects out of the data that you want to access in Salesforce Lightning Connect. Open your newly-created external data source and follow these steps:
In the top button bar, click **Validate and Sync**.
Check the **Select** box next to each table that you want to sync to Salesforce. If desired, also check the **Sync in background** box.
Click **Sync** to synchronize the tables.
Your Connect AI external objects can be accessed and used like standard Salesforce objects. Salesforce has documentation about [external objects](https://developer.salesforce.com/atlas.en-us.object_reference.meta/object_reference/sforce_api_objects_external_objects.htm) and their uses.
### Access External Objects
To manage your external objects, you can use one of the following methods:
* Open your Connect AI connection in the **Integrations** > **External Data Sources** menu.
* Your synchronized tables appear under the **External Objects** field.
* Each table has buttons for **Edit**, **Erase**, and **Validate**.
* Click the name of a table to open it in Object Manager.
* Alternatively, navigate to **Integrations** > **External Objects** or type *external objects* into the search bar.
* Your synchronized tables appear in the External Objects list with **Edit** and **Erase** options.
* You can click the label of an object to open its details, or you can click the name of the External Data Source to open your connection information.
Click **Save** to save your external data source.
## Create External Objects from Data
After you create your external data source, you must create external objects out of the data that you want to access in Salesforce Lightning Connect. Open your newly-created external data source and follow these steps:
In the top button bar, click **Validate and Sync**.
Check the **Select** box next to each table that you want to sync to Salesforce. If desired, also check the **Sync in background** box.
Click **Sync** to synchronize the tables.
Your Connect AI external objects can be accessed and used like standard Salesforce objects. Salesforce has documentation about [external objects](https://developer.salesforce.com/atlas.en-us.object_reference.meta/object_reference/sforce_api_objects_external_objects.htm) and their uses.
### Access External Objects
To manage your external objects, you can use one of the following methods:
* Open your Connect AI connection in the **Integrations** > **External Data Sources** menu.
* Your synchronized tables appear under the **External Objects** field.
* Each table has buttons for **Edit**, **Erase**, and **Validate**.
* Click the name of a table to open it in Object Manager.
* Alternatively, navigate to **Integrations** > **External Objects** or type *external objects* into the search bar.
* Your synchronized tables appear in the External Objects list with **Edit** and **Erase** options.
* You can click the label of an object to open its details, or you can click the name of the External Data Source to open your connection information.