> ## Documentation Index
> Fetch the complete documentation index at: https://docs.cloud.cdata.com/llms.txt
> Use this file to discover all available pages before exploring further.
# Microsoft Copilot Studio
## Prerequisites
Make sure you have a Connect AI account and are signed in. Go to [https://www.cdata.com/ai](https://www.cdata.com/ai).
Before you can configure and use Microsoft Copilot Studio with Connect AI, you must first connect a data source to your Connect AI account. See [Sources](/en/Sources) for more information.
## Create a Microsoft Copilot Studio Agent
In the Copilot Studio navigation menu, click **Agents**, and then click **+New agent**.
Toggle the **Configure** button.
Enter information based on how you intend to use this agent while it is consuming our MCP server.
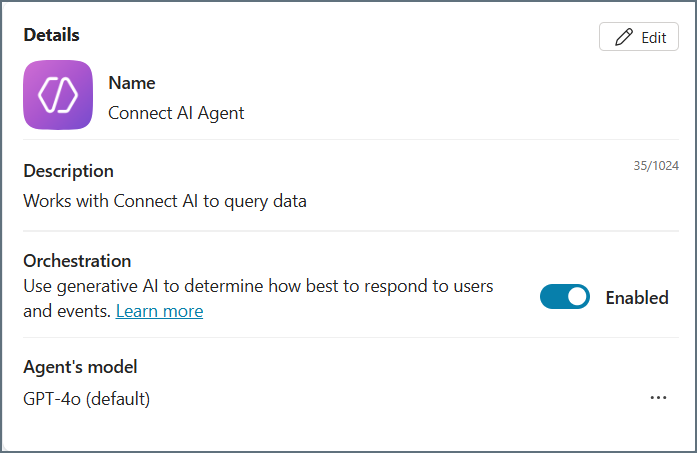
Click **Create** on the upper right. Copilot shows you the agent details.
 ## Add the CData Connect AI Tool to the Agent
Scroll down the agent details until you see the **Add tool** button. Click this button.
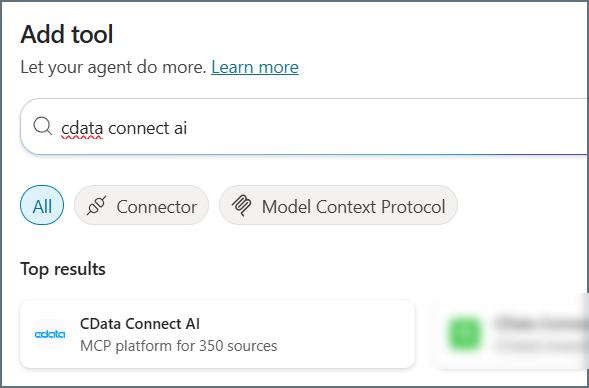
In the **Add Tool** dialog, search for *CData Connect AI* and click the tool **CData Connect AI**.
## Add the CData Connect AI Tool to the Agent
Scroll down the agent details until you see the **Add tool** button. Click this button.
In the **Add Tool** dialog, search for *CData Connect AI* and click the tool **CData Connect AI**.
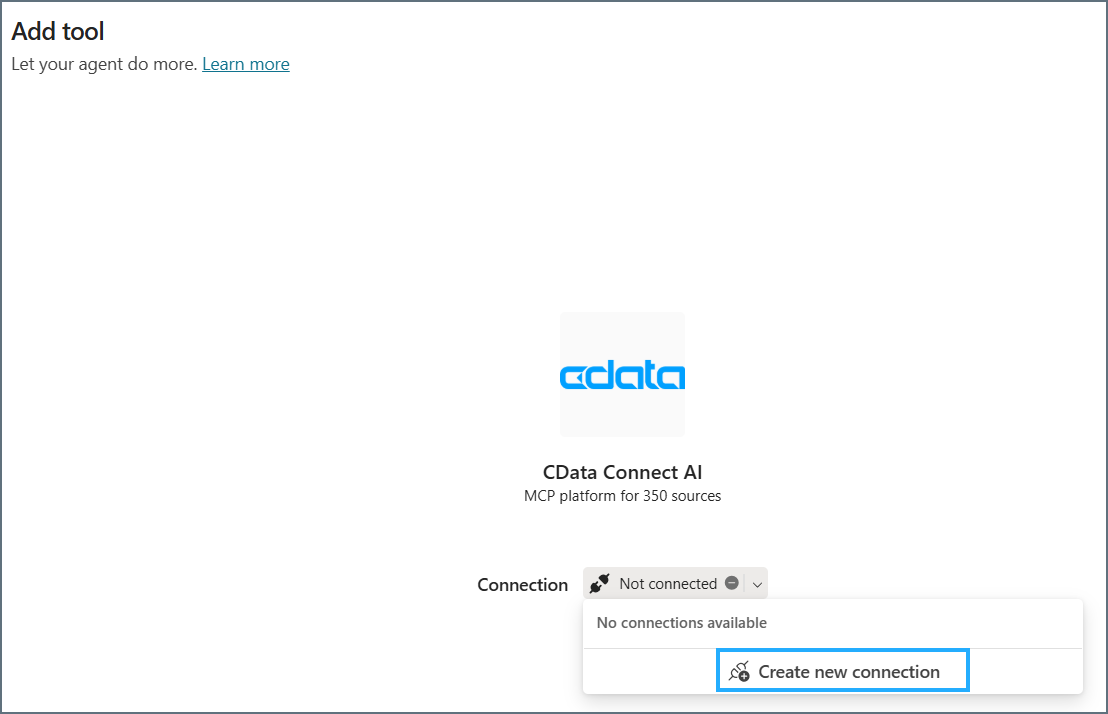
 Under **Connection**, click **Create new connection**.
 In the next dialog, click **Create**.
Sign in to Connect AI with your credentials, if necessary.
Click **Add to agent**. The MCP tool is now listed under the **Tools** section for your agent. You can now test your agent.
## Explore Live Data
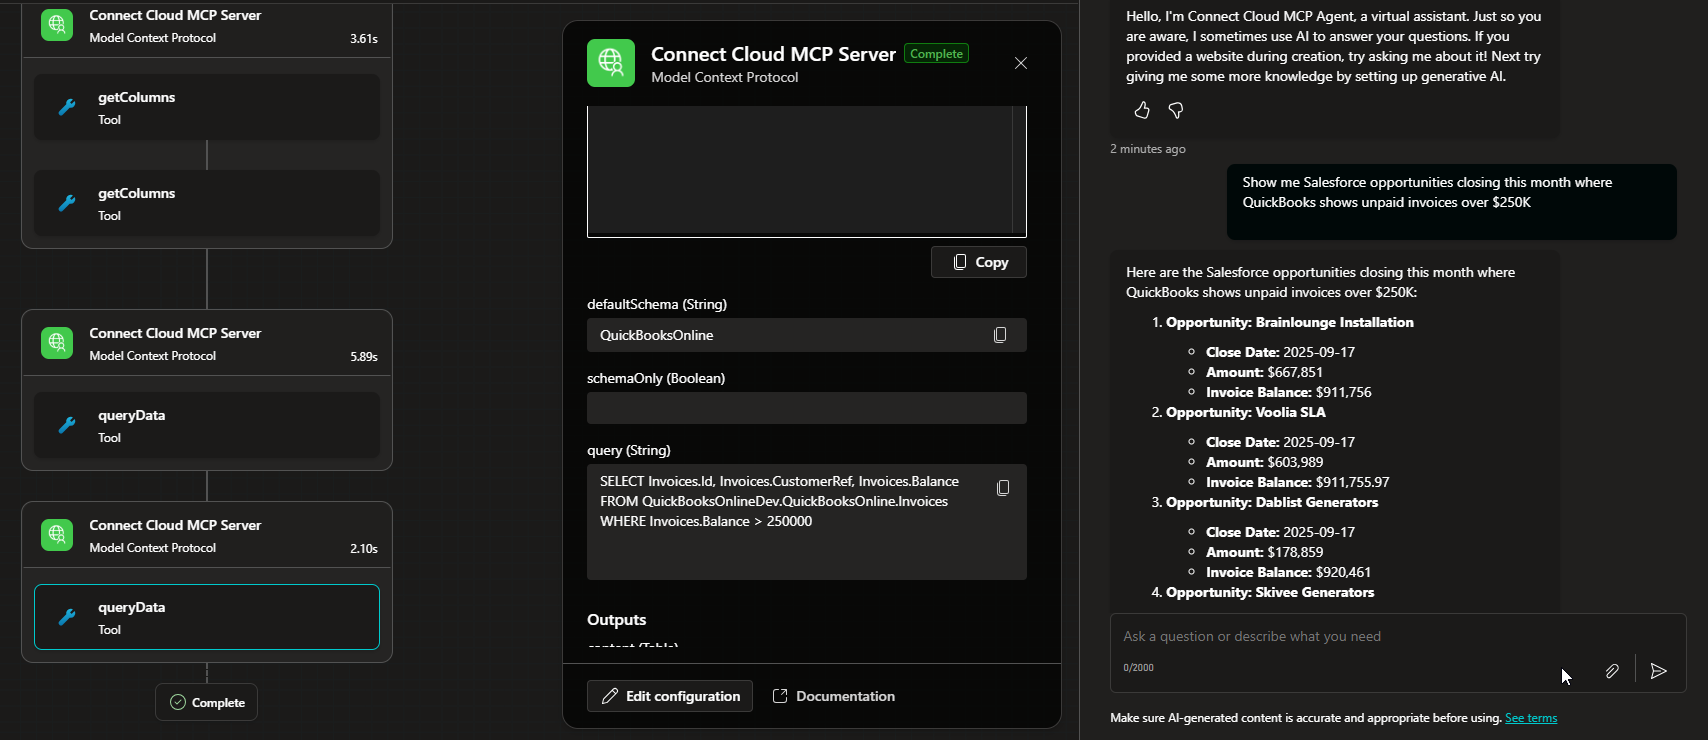
With the Agent created in Microsoft Copilot Studio and the MCP tool connected, you can now interact with your data. The MCP tool allows you to send queries and receive responses from the data source in real time.
Open the chat window in your Microsoft Copilot Studio Agent to begin interacting with your data. You can ask questions, retrieve data, and perform actions on your data using the MCP tool.
In the next dialog, click **Create**.
Sign in to Connect AI with your credentials, if necessary.
Click **Add to agent**. The MCP tool is now listed under the **Tools** section for your agent. You can now test your agent.
## Explore Live Data
With the Agent created in Microsoft Copilot Studio and the MCP tool connected, you can now interact with your data. The MCP tool allows you to send queries and receive responses from the data source in real time.
Open the chat window in your Microsoft Copilot Studio Agent to begin interacting with your data. You can ask questions, retrieve data, and perform actions on your data using the MCP tool.