> ## Documentation Index
> Fetch the complete documentation index at: https://docs.cloud.cdata.com/llms.txt
> Use this file to discover all available pages before exploring further.
# Gemini
> Gemini is Google’s family of large language models (LLMs). It can generate text, images, audio, video, and code. This page explains how to connect the Connect AI MCP to Gemini through either the command-line interface or the Google Agent Development Kit (ADK).
Connect AI uses OAuth authentication by default, but you can also use Basic authentication with a Personal Access Token (PAT).
## Prerequisites
Before you can configure and use Gemini with Connect AI, you must first connect a data source to your Connect AI account. See [Sources](/en/Sources) for more information.
(Basic authentication and Google ADK only) Generate a Personal Access Token (PAT) on the [Settings](/en/Settings#personal-access-tokens) page. Copy this down, as it acts as your password during authentication.
You need Python >= 3.10 to use the Gemini tools.
## Connect through the Gemini Command Line Interface
After you install Gemini, create the settings file and then choose an authentication method.
Go to your user directory `%USERPROFILE%` and create a `.gemini` folder.
Within the folder, create a file named `settings.json`.
### OAuth Authentication
Copy and paste the following into the `settings.json` file:
```json theme={null}
{
"mcpServers": {
"connect-ai": {
"httpUrl": "https://mcp.cloud.cdata.com/mcp/",
"trust": true
}
},
"selectedAuthType": "oauth-personal"
}
```
In the terminal, type `gemini`. You may need to give Google authorization to access your account.
Run `/mcp auth connect-ai` to authenticate to the Connect AI MCP server. Gemini opens your browser to the Connect AI sign-in page. Complete the sign-in to authorize the connection.
### Basic Authentication
Copy and paste the following into the `settings.json` file. Replace `EMAIL` with your Connect AI email and `PAT` with the PAT you obtained in the prerequisites:
```json theme={null}
{
"mcpServers": {
"connect-ai": {
"httpUrl": "https://mcp.cloud.cdata.com/mcp/",
"headers": {
"Authorization": "Basic EMAIL:PAT" //Replace with your authorization header
},
"trust": true
}
},
"selectedAuthType": "oauth-personal"
}
```
In the terminal, type `gemini`. You may need to give Google authorization to access your account.
## Use Gemini
The Gemini screen appears as follows:
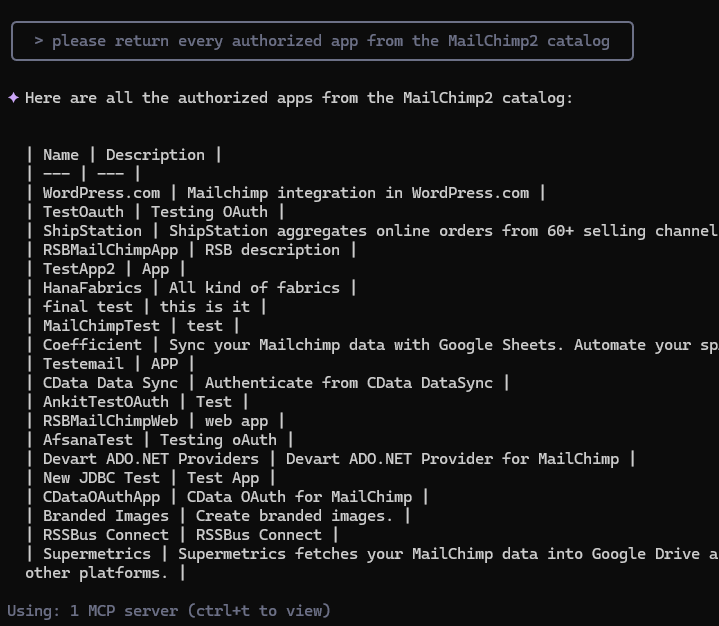
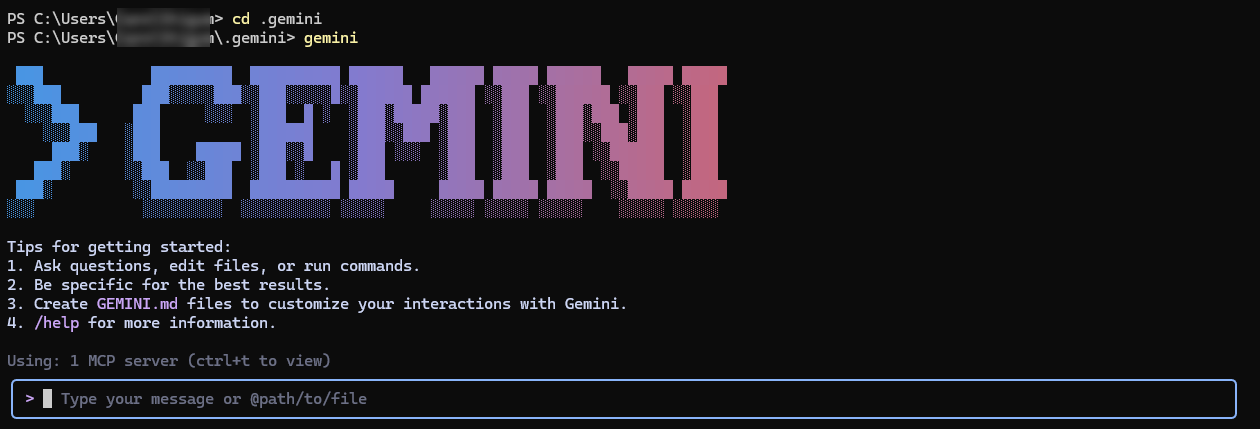 Enter a prompt in the prompt box to ask Gemini a question. Gemini uses the Connect AI tools such as `getCatalogs`, `getSchemas`, and `getTables` to retrieve data from connected data sources.
Gemini returns a response to your prompt.
Enter a prompt in the prompt box to ask Gemini a question. Gemini uses the Connect AI tools such as `getCatalogs`, `getSchemas`, and `getTables` to retrieve data from connected data sources.
Gemini returns a response to your prompt.
 ## Connect through the Google ADK
Download the folder [adk-mcp-client](https://github.com/CDataSoftware/adk-mcp-client) and unzip the folder.
Rename `.env example` to `.env`.
In the `.env` file, replace `your_email@example.com` with your Connect AI email, and replace `your_mcp_password_here` with the PAT created in the prerequisites.
Run `pip install -r requirements.txt` in your terminal.
Run `python -m google.adk.cli web --port 5000`. This starts the ADK at port 5000 on your local machine.
In your web browser, open `127.0.0.1:5000`. The application looks like the following:
## Connect through the Google ADK
Download the folder [adk-mcp-client](https://github.com/CDataSoftware/adk-mcp-client) and unzip the folder.
Rename `.env example` to `.env`.
In the `.env` file, replace `your_email@example.com` with your Connect AI email, and replace `your_mcp_password_here` with the PAT created in the prerequisites.
Run `pip install -r requirements.txt` in your terminal.
Run `python -m google.adk.cli web --port 5000`. This starts the ADK at port 5000 on your local machine.
In your web browser, open `127.0.0.1:5000`. The application looks like the following:
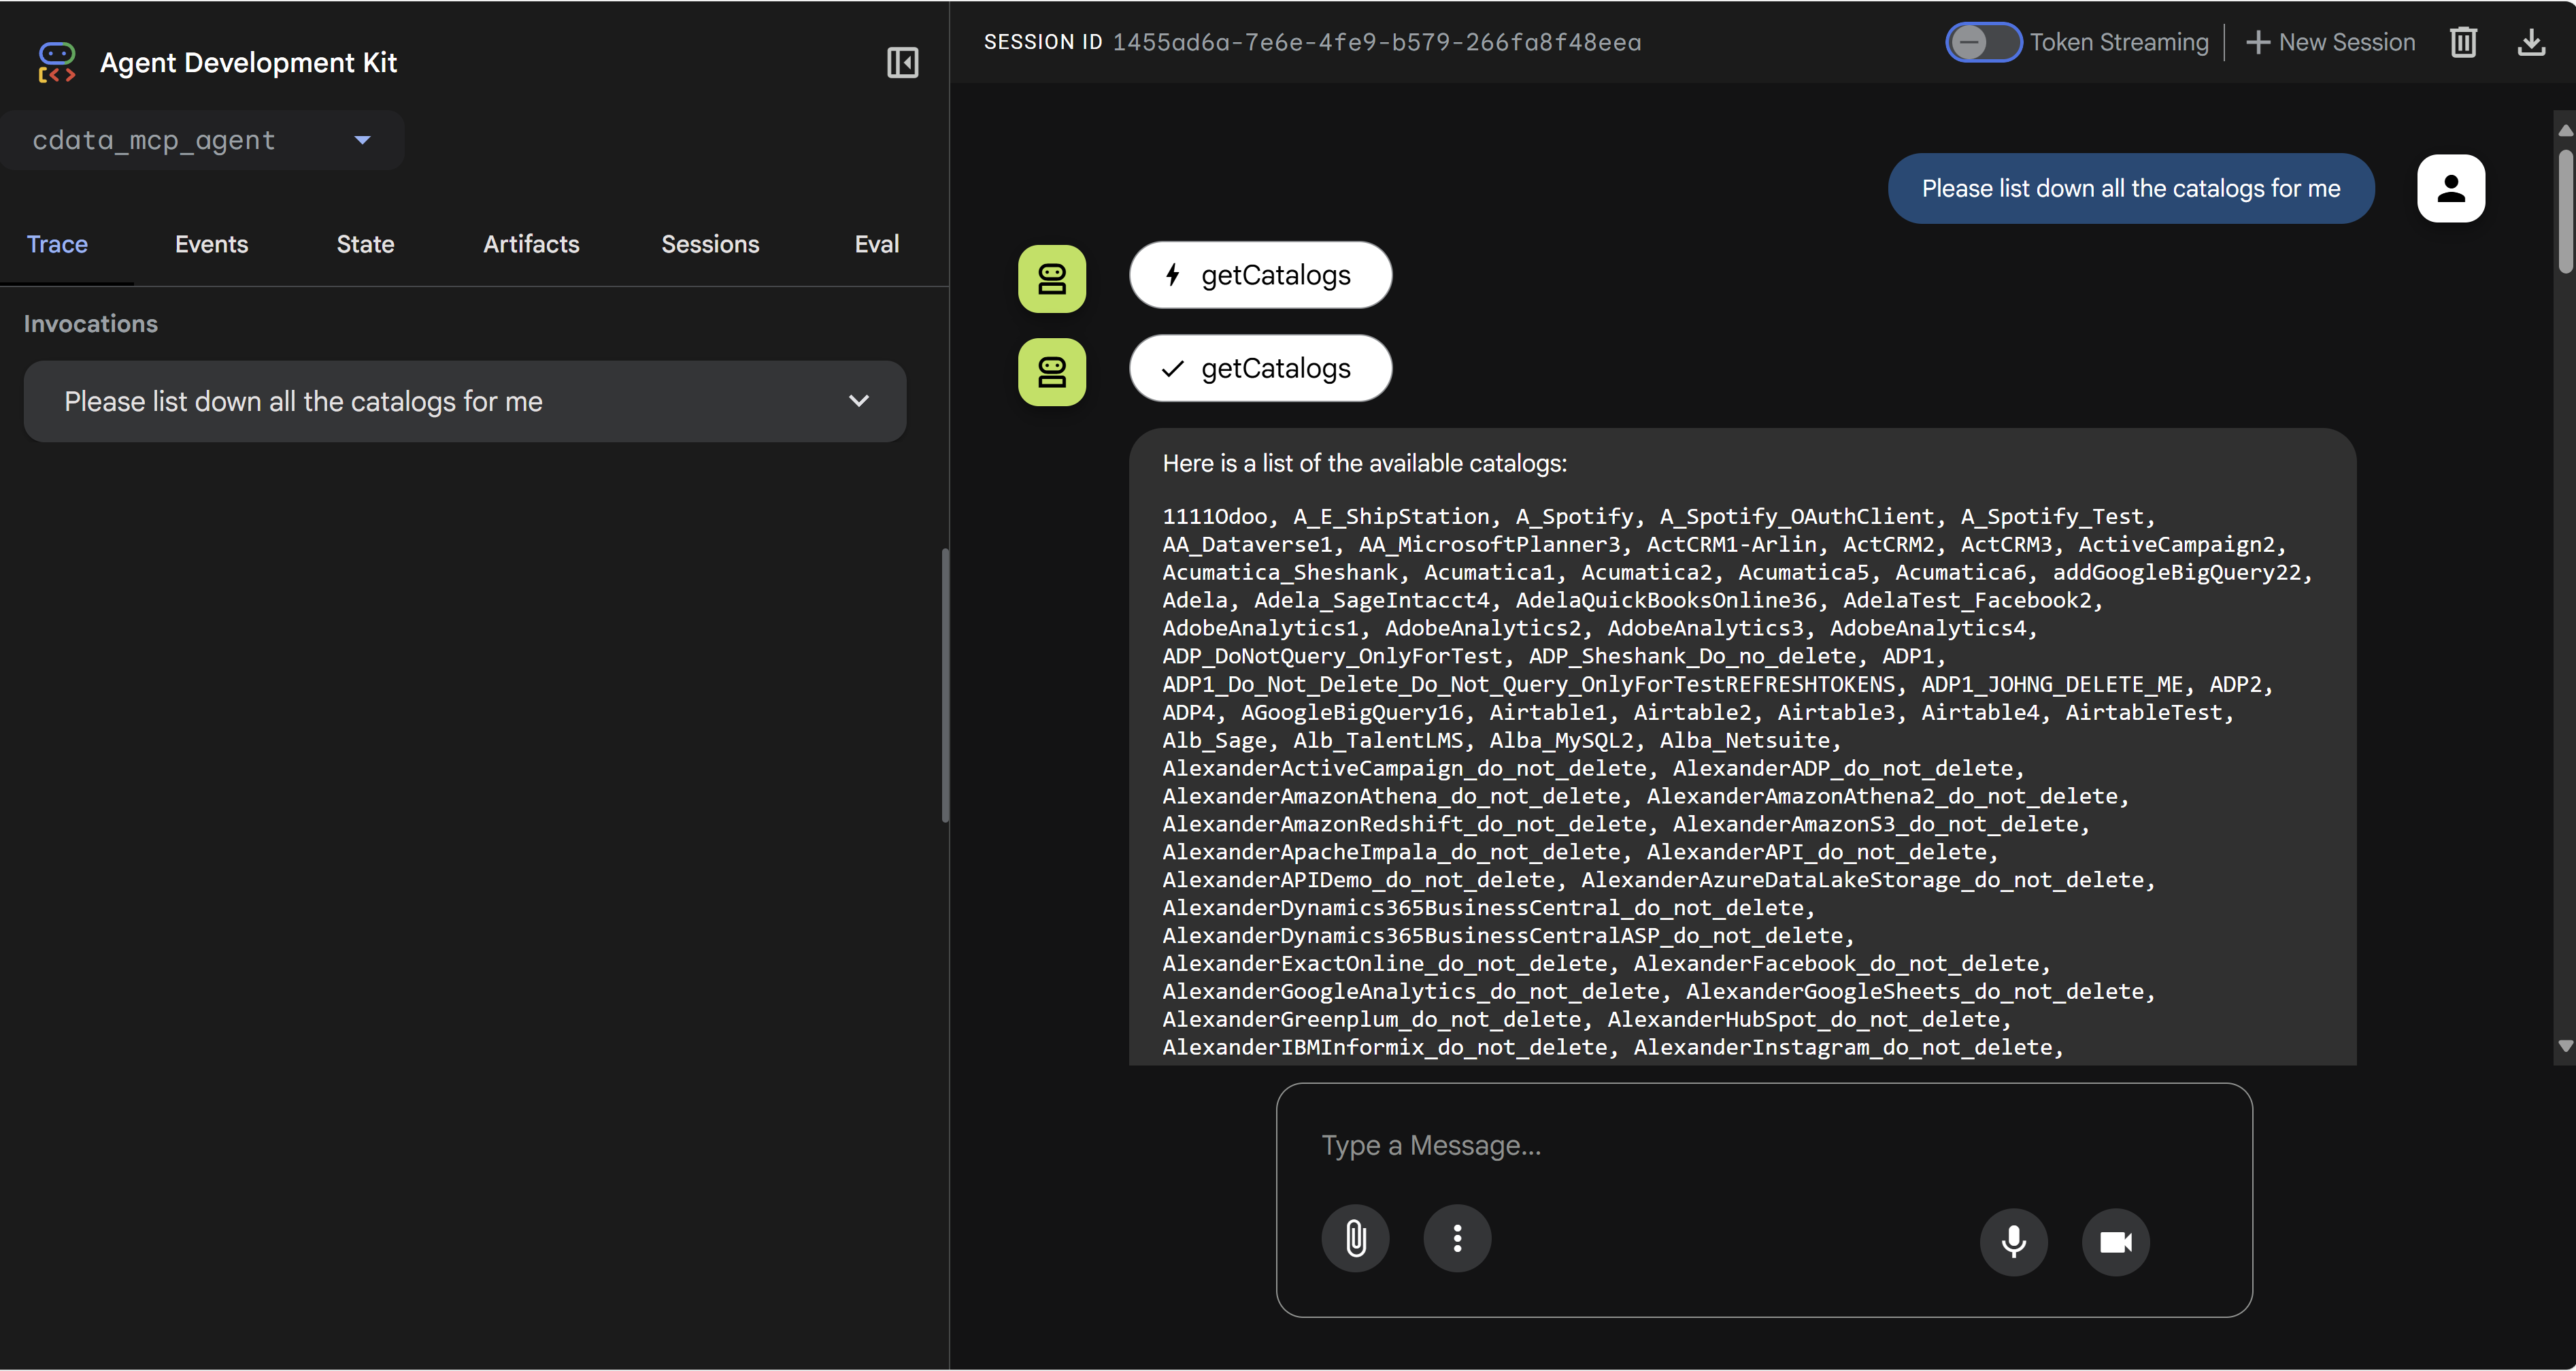
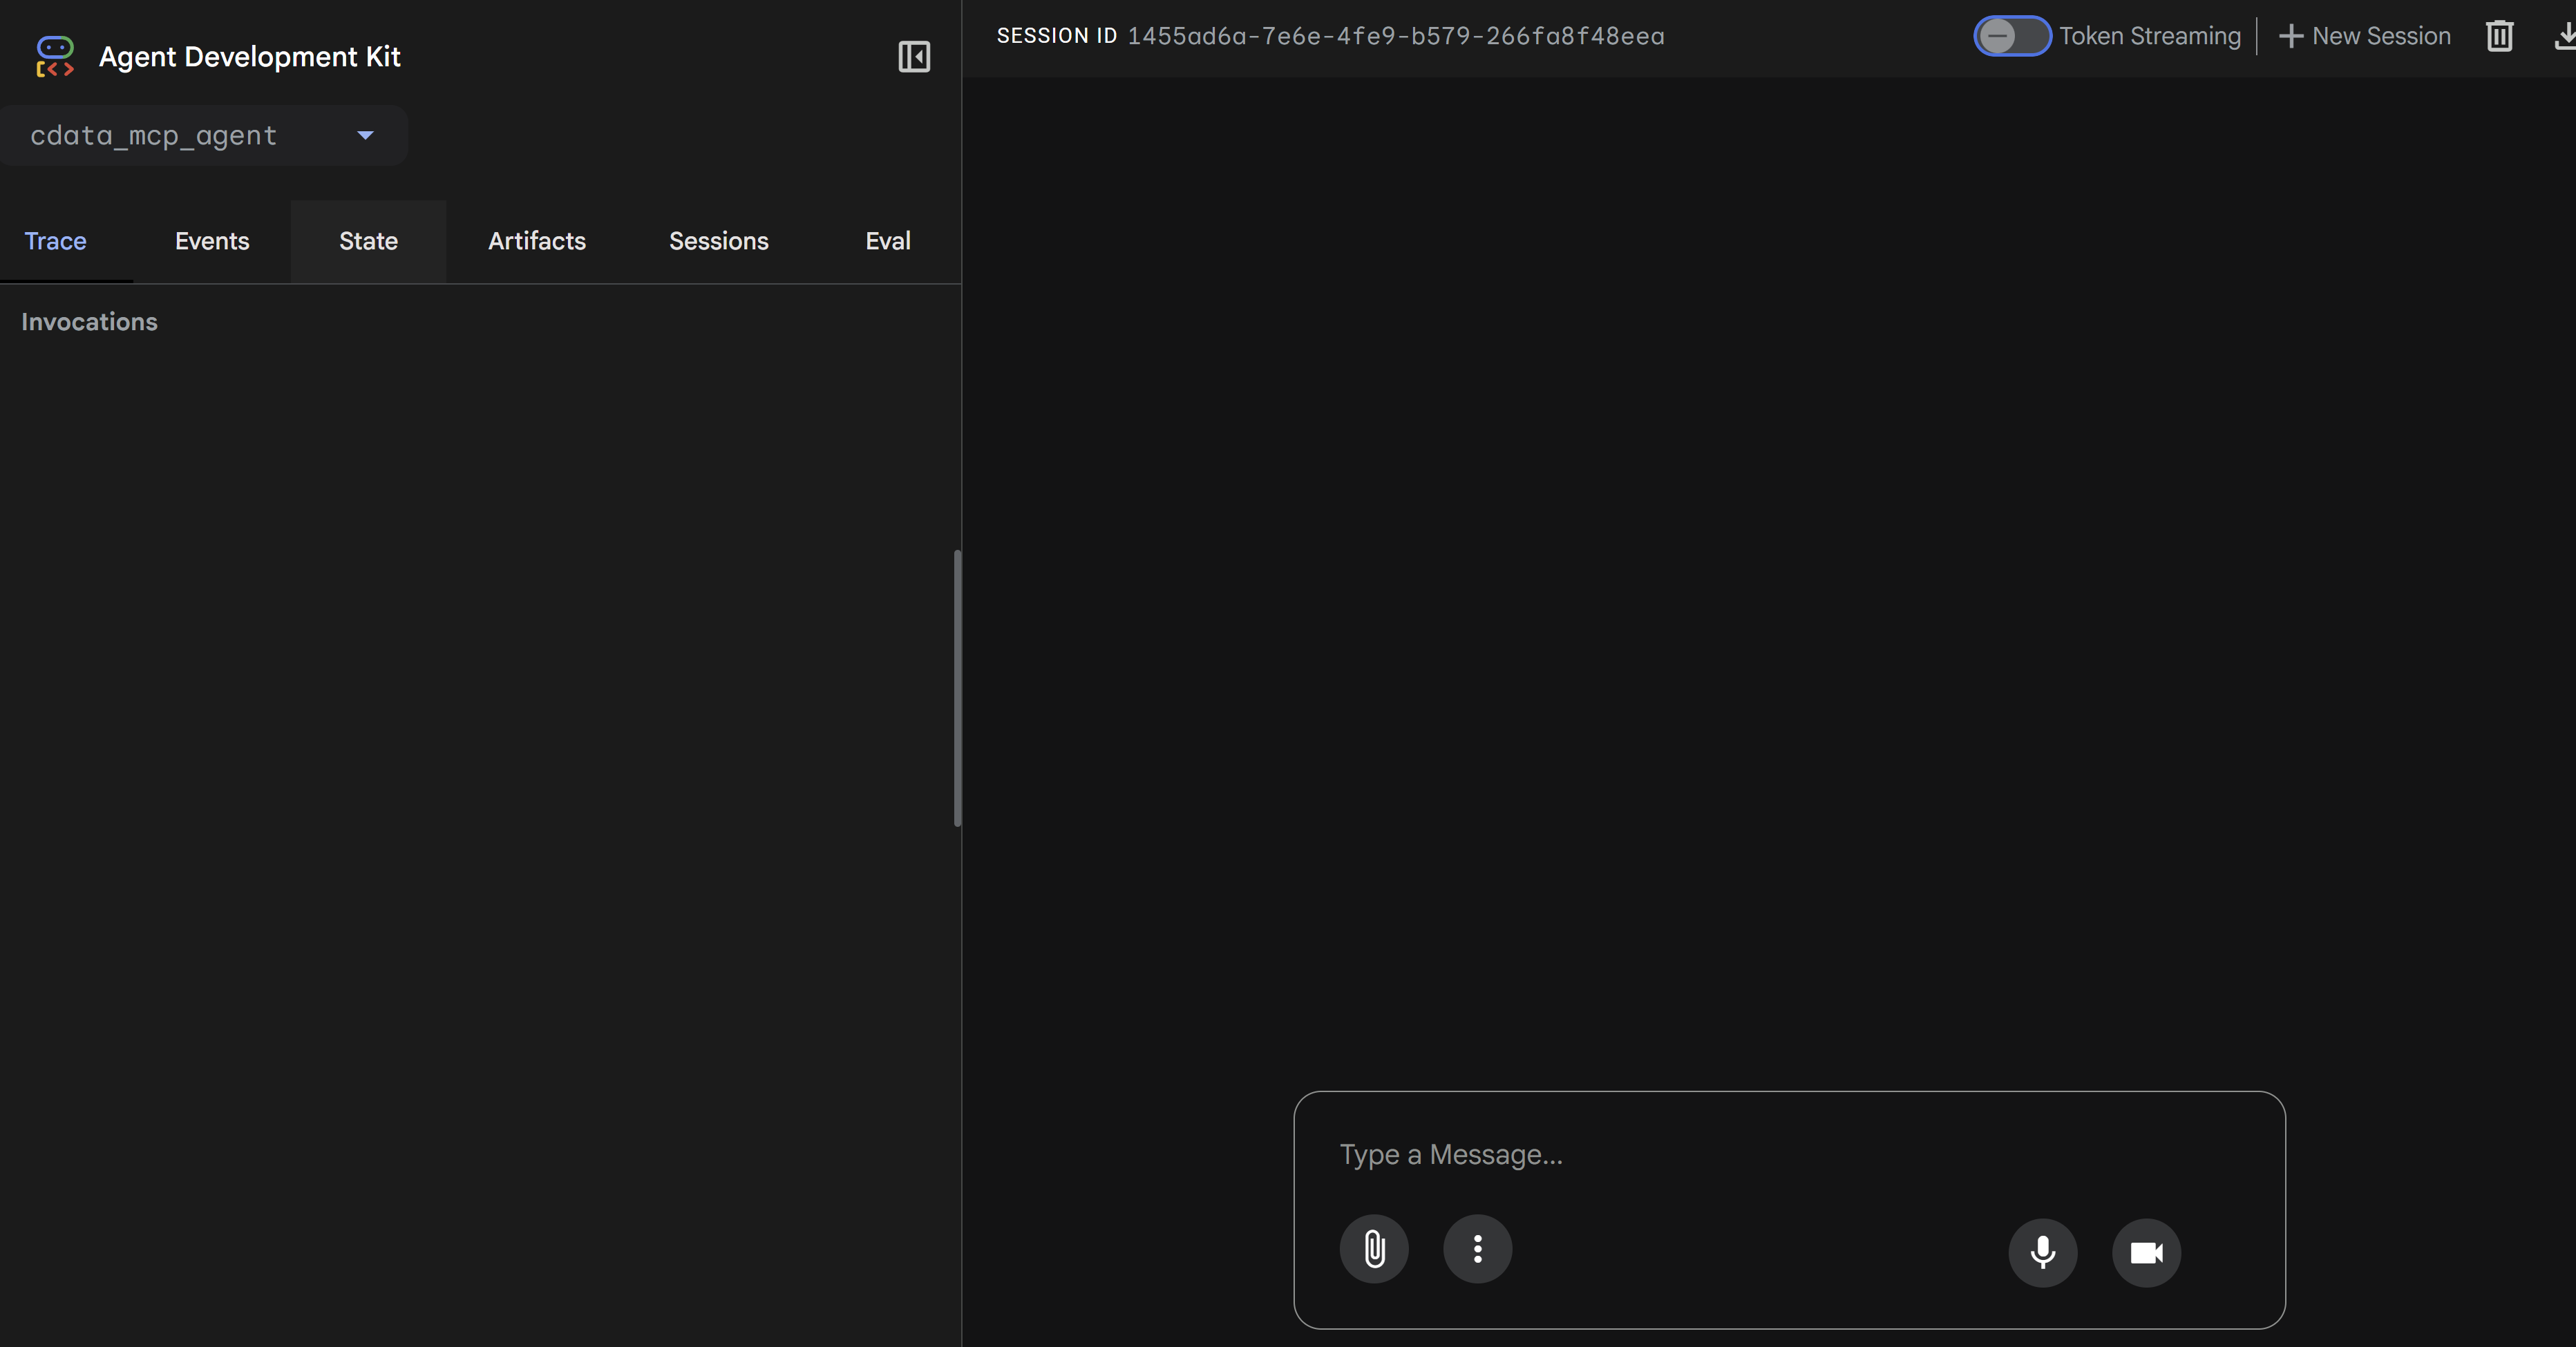 Enter a prompt in the **Type a Message** box. Gemini uses the Connect AI tools such as `getCatalogs`, `getSchemas`, and `getTables` to retrieve data from connected data sources.