> ## Documentation Index
> Fetch the complete documentation index at: https://docs.cloud.cdata.com/llms.txt
> Use this file to discover all available pages before exploring further.
# Claude Code
> Claude Code is Anthropic’s agentic coding tool that reads your codebase, edits files, and runs commands from your terminal, IDE, desktop app, and browser. This page explains how to connect Claude Code to the Connect AI MCP server.
Connect AI uses OAuth authentication by default, but you can also use Basic authentication with a Personal Access Token (PAT).
## Prerequisites
Before you can configure and use Claude Code with Connect AI, you must first do the following:
* Connect a data source to your Connect AI account. See [Sources](/en/Sources) for more information.
* (Basic authentication only) Generate a Personal Access Token (PAT) on the [Settings](/en/Settings#personal-access-tokens) page. Copy this down, as it acts as your password during authentication.
## Install Claude Code
Open PowerShell as an Administrator and run the following command:
```bash theme={null}
npm install -g @anthropic-ai/claude-code
```
Once the installation is done, try running: `npm list -g @anthropic-ai/claude-code` in your terminal to confirm the installation. You should see something like this:
```bash theme={null}
C:\Users\ConnectAIUser\AppData\Roaming\npm
-- @anthropic-ai/claude-code@2.0.28
```
Create a project named `Claude Code` and open it in Visual Studio Code.
## Connect to Connect AI
### OAuth Authentication
In the terminal of your project, run the following command:
```bash wrap theme={null}
claude mcp add --transport http connectmcp https://mcp.cloud.cdata.com/mcp
```
This creates a JSON file with your MCP Server.
Adding the server registers it but does not authenticate it. You complete the OAuth sign-in from inside a Claude Code session:
Start a session by typing `claude`, then run the `/mcp` command.
Select the `connectmcp` server, then choose **Authenticate**. Claude Code opens your browser to the Connect AI sign-in page.
Complete the sign-in. When you return to the terminal, the server status changes to connected.
### Basic Authentication
In the terminal of your project, run the following command:
```bash wrap theme={null}
claude mcp add --transport http connectmcp https://mcp.cloud.cdata.com/mcp --header "Authorization: Basic "
```
This creates a JSON file with your MCP Server.
## Start a Claude Code Session
Type `claude`. A welcome screen appears:
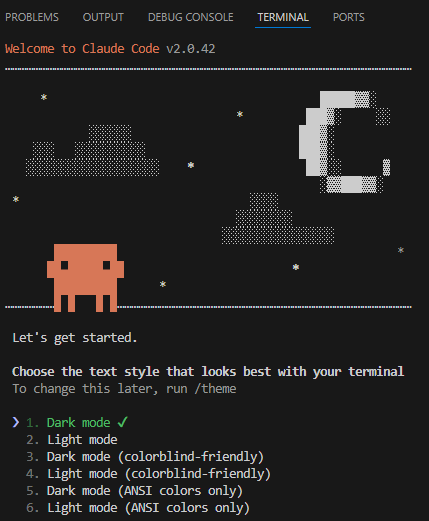 Choose a text style and login method. Claude Code opens the browser to log in to Claude.
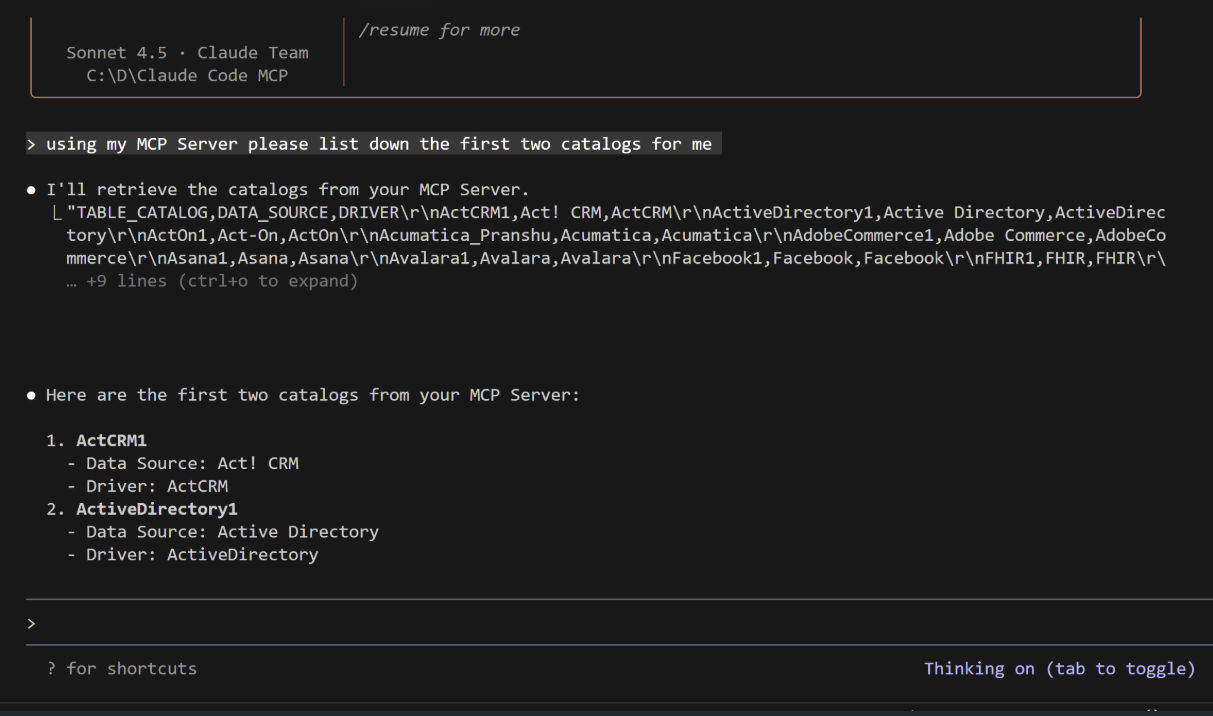
You can now interact with the MCP server:
Choose a text style and login method. Claude Code opens the browser to log in to Claude.
You can now interact with the MCP server: